Paint Like A Pro With These 8 Tips
SHARE: 

With planning and careful preparation, you can paint like a pro. You'll need patience, too, because a professional-looking paint job doesn't allow for shortcuts. Follow these simple steps to ensure a great result.
1. Inspect the room. Lightly sand any peeling, flaked or cracked areas. If you skip this step, the weight of the new paint could pull the old paint loose.
2. Fill holes with spackling compound or epoxy wood filler. Your new paint isn't going to hide those blemishes, and it might make them more obvious.
3. Assemble your supplies, and don't skimp on expenses. The better the quality of the materials you use, the better your room will look. You'll need:
- A roller frame, cover and pan. Test the frame to make sure it rolls easily.
- A fiberglass or metal adjustable extension pole for painting ceilings.
- A 1 1/2-2-inch paintbrush for trim and a 2 1/2-3 inch brush for larger areas. If you're using oil-based paint or varnish, choose China bristle brushes.
- Painters tape. It works better than masking tape.
- A canvas drop cloth. Canvas absorbs drips better than plastic does and isn't slippery underfoot.
- A putty knife.
- Your paint and primer. Primer tinted to the color of the paint is best. Don't skip it! The primer will give you a smooth, long-lasting finish and covers flaws. If you're a sloppy painter, buy a painter's hat and shirt or even coveralls.
4. Buy all your paint at the same time and mix it all together in one large container. This will give you consistent color throughout the room.
5. Wait for a dry (non-humid) day. Paint dries slowly on humid days and is more likely to drip.
6. Wipe the walls down with a damp cloth. Paint adheres best to a clean surface.
7. Paint the trim first. Then do the ceiling, saving the walls for last. When the paint is completely dry, tape the trim off with painters tape. Hold the tape tight against the wall and roll it out so it covers the edge of the trim. Then press it into place with a putty knife.
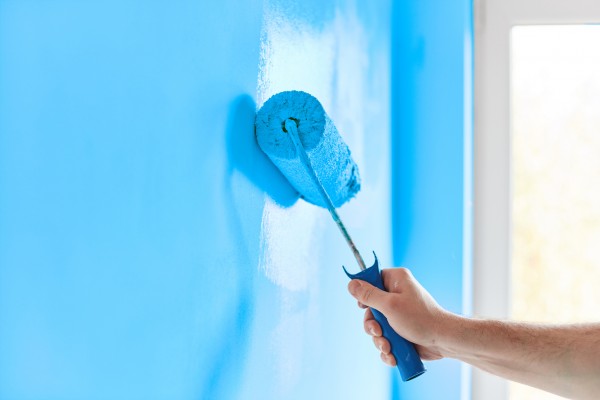
8. Start in a top corner of the wall using an angled brush to "cut in" the corner. Paint from top to bottom so you can paint over drips as you go along. Avoid lap marks caused by uneven rows of paint buildup by making sure one edge of your roller is always wet so every stroke overlaps the other before the paint begins to dry.
When you're done, wash your brushes, rollers and other supplies so you'll have them for next time.